Note: This guide only covers feeding equipment to an amiibo. For other aspects of training, see my full amiibo training guide.
One of the most oft-overlooked aspects of training amiibo in Super Smash Bros. for Wii U is “feeding” them equipment. This is a sort of minigame you can perform between rounds that allows you to beef up various stats and apply bonuses to your amiibo.
The first thing you’ll need to do is earn equipment, which you can do by simply letting your amiibo play a few rounds. For an extremely fast way to do this, set up battles with multiple amiibo so that they are all earning equipment at the same time. After a few rounds, when you go to the amiibo menu and load in your amiibo, you’ll see a present icon in the upper left corner of the character portrait.
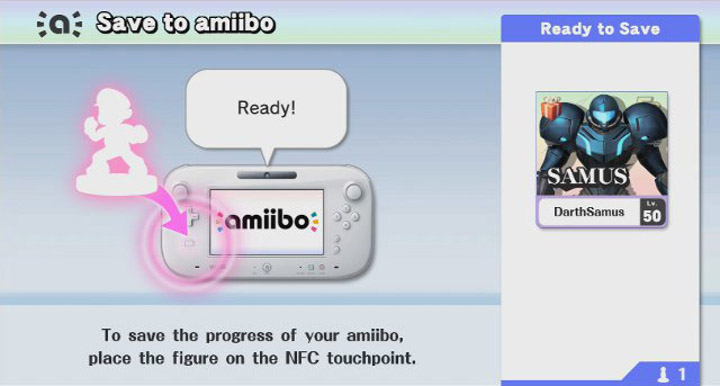
This means you’ve earned something, and loading your amiibo will allow you to collect your spoils. These will come to you in the form of trophies, coins, custom moves, or equipment, which are all nice to get, but it’s the last one we’ll be focusing on in this guide.
In the amiibo menu, you will “feed” your amiibo this equipment. You can only use a piece of equipment once (though you can earn multiple copies of any equipment type), and it will provide a permanent stat change to your amiibo.
Every piece of equipment gives your character a + stat boost and a – stat boost. For example, one piece of equipment might give you +23 Attack and -19 Defense. In the early stages of amiibo feeding, I try to give my characters equipment that gives a larger + stat than a – stat, though this will depend on which stats you want to improve. For example, you might settle for a -19 Speed and +9 Defense if you’re really itching to boost the Defense stat as fast as you possibly can. You can always mitigate negative stats with more feeding later on.
The three available stats are Attack, Defense, and Speed. Now, here’s where the math comes in: You max out at 120 positive bonus points across all three stats. So the most balanced character possible would have +40 Attack, +40 Defense, and +40 Speed. However, you can boost one stat beyond +120 by giving another stat a negative bonus. So you could potentially have +150 Attack, -15 Defense, and -15 Speed. Every stat maxes out at +200, though having a +200 stat would require you to have at least -80 spread between the other two stats.

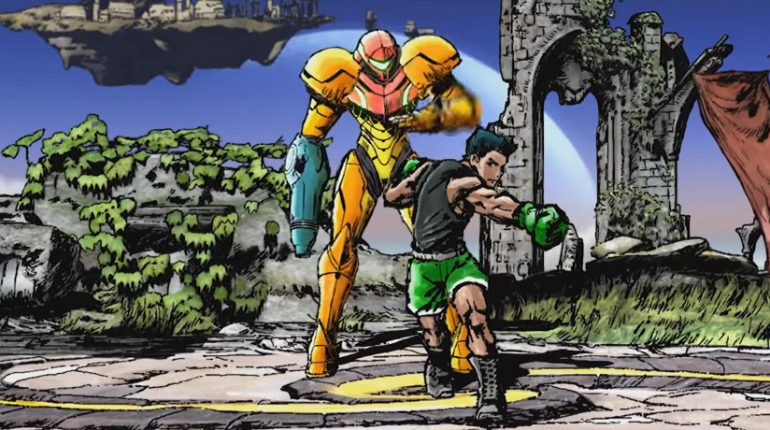
I’ve spent quite a bit of time experimenting with my Samus amiibo, and, from my experience, it makes far more sense to focus on the gaps in a character’s stats than try to push already strong areas over the top. Samus is a fairly fast character in Super Smash Bros., so I experimented with gimping my Samus amiibo’s Attack and Defense to boost her Speed up over +100. In one-on-one matches, she put up a pretty good fight, though I could tell her negative stats were having a larger impact on her gameplay than the Speed boost was. So I gimped her Speed to give her a +200 Attack stat, and I noticed she was hitting way harder and was a lot more difficult to beat, while still maintaining a majority of her natural speed.
On top of base stats, some equipment grants additional Bonus Effects.
My Samus currently has all three of her Bonus Effect slots filled. “First-strike advantage” gives her 10 seconds of invincibility if she is the first character in the round to land a blow. Obviously, this is extremely useful in 1v1 matches, as she has a pretty high chance of landing the first blow. (I’d say 50%, but with so much variation in speed between characters, this isn’t really an accurate guess.) “Improved launch ability” lets her launch opponents farther when she hits them, and “Easy perfect shield” makes it easier to nullify attacks with the shield.
The maximum number of Bonus Effects you can have equipped at once is three, so when you attempt to slot a fourth, you’ll be asked to remove one of the four (you can remove the Effect you are attempting to apply, so you don’t have to overwrite a slotted Effect if you don’t want to.) Some of the Effects give your character nerfs, so if you want to remove those, just slot a fourth Effect and overwrite the nerf.
You can only feed your character a limited amount of equipment before it gets “full.” Whenever your character is full, just fight another round or two and return to the Feed Equipment menu when you’re done. I’ve noticed that, typically, an amiibo will be the hungriest immediately after a battle. I’ve been able to feed Samus 7 or 8 pieces of equipment right after a battle, when I could usually only feed her 3 or 4 if I fed her later, after she had been sitting dormant for a while.

Personally, my overall equipment strategy is to enhance the stats that a character typically lacks (I would try to boost Donkey Kong’s Speed, for example), because that seems to work out the most effectively for me.
Further, I try to provide Bonus Effects that complement one another. For example, the “First-strike advantage” I mentioned above pairs well with something like “Ray Gun equipped,” which allows your amiibo character to begin every match with a Ray Gun. This increases the chances of landing a first strike and scoring the ten-second invincibility bonus.
You might already have a particular “build” in mind for your amiibo, and that’s awesome! Experiment with things to see what works the best for you. If you’re looking to get the most bang for your buck, however, the tips I’ve laid out above should help you do just that.
