
The Trader role is probably my favorite thing that exists in Red Dead Redemption 2. See, I absolutely love hunting in this game — it’s all I ever want to do in Red Dead‘s world — and the Trader role turns this Red Dead Online mico-hobby into a full-fledged in-game profession. This is what keeps me coming back to Red Dead Online time and time again, and it’s also how I earn massive amounts of cash pretty much every time I play.
Needless to say, I’ve put a lot of time into the Trader role. I’m often asked (in Red Dead livestreams) about how to master the role, so I decided to throw together a guide on absolutely everything I know about trading. Here’s a guide to complete mastery of the trader role in Red Dead Online.
Pay your dues
First of all, you’ll have to buy into this role. It costs 15 gold bars, which seems like a lot but it really isn’t. (If you want to earn Red Dead gold fast, check out my full gold guide — you’ll earn your 15 gold in no time.) I promise you, dear friend, that this is absolutely worth it. If you want to earn scads of cash in Red Dead Online, you’re going to want to buy into the Trader role.
Don’t be a scrooge; pay your 15 gold and get your trading post off the ground.
Learn the basics
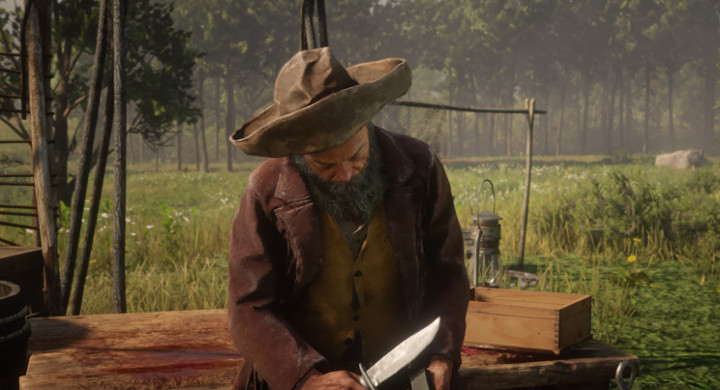
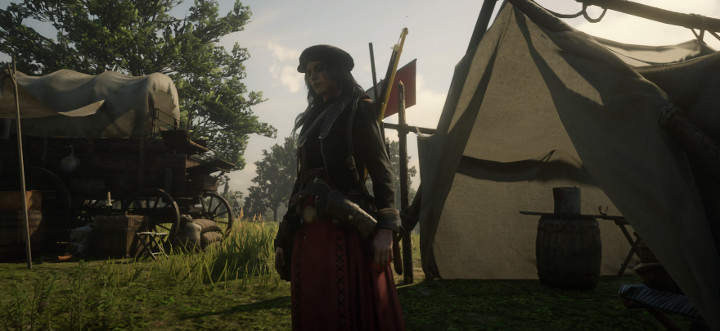
The hub of your trading empire will be your camp (which you should already have once you complete the introduction to Red Dead Online). Cripps, AKA the greasy old dude at your camp, will be of vital importance here, as he handles pretty much everything. Your job, then, is to understand what he wants and keep him happy. If you can do that, you’ll be scoring wads of cash in no time. And Cripps is a simple man who never bathes and reeks of onion — keeping him happy is a cinch.
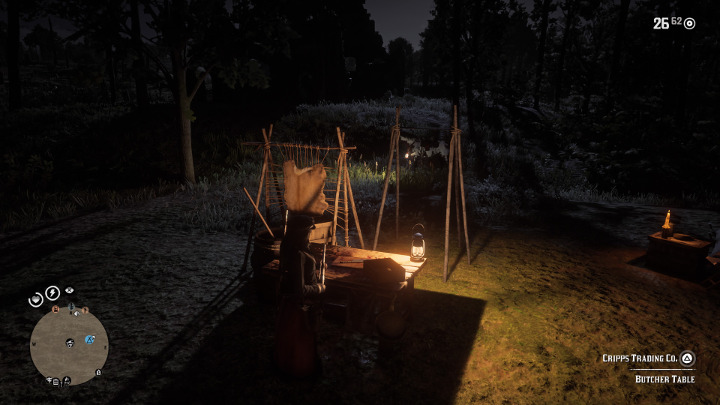
The basic rhythm of the Trader is this: hunt, drop off animals, do the occasional resupply mission, then deliver your goods to a buyer. The main point-of-contact for all of these activities is the butcher table, which is added to your camp once you buy into the Trader role.
When you access the butcher table (walk up to it and hold triangle if you’re on PS4), you’ll see this menu appear:

There are three progress bars, which tell you virtually everything you need to know about how your operation is running. They are Materials, Goods, and Production. Here’s what they mean:
Materials – This is how well stocked you are. You can fill this meter by dropping off animal corpses and pelts at the butcher table. When this runs out, Cripps stops working, so make sure he’s always got a decent supply of animal parts.
Supplies – This isn’t explained by the game very well, but, as I understand it, this refers to things like like tools and chemicals and such. Basically, this is all the stuff Cripps needs on top of the animal parts you’re supplying. If progress is halted because you’re out of supplies, you will either need to pay $20 to buy more, or take a resupply mission to fetch some on your own. I suggest that you always take the mission. They’re usually pretty easy, and they pay out a decent amount of XP.
Goods – This is how much product Cripps has made. You can select this option to see the current value of these goods, or you can trigger a sale. You should always sell as soon as this bar fills up. (If you have the small wagon, which is the default, 25/100 is considered full, because that’s how much goods will fill the small wagon. I have a lot more to say about wagons, so check out my full guide to camp upgrades to learn more.)
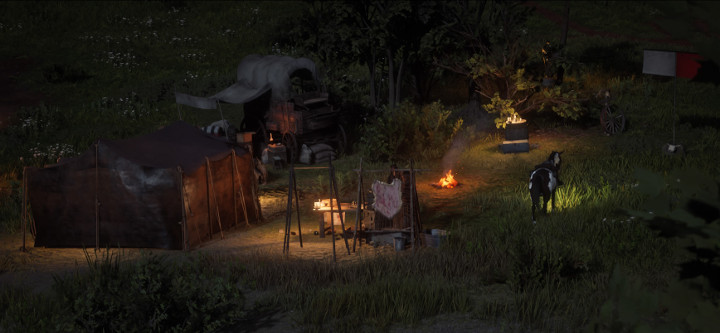
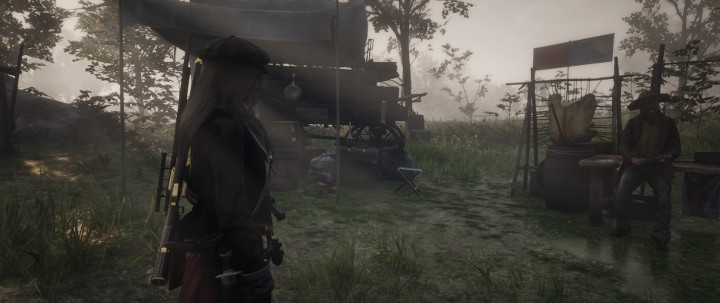
Pitch your camp
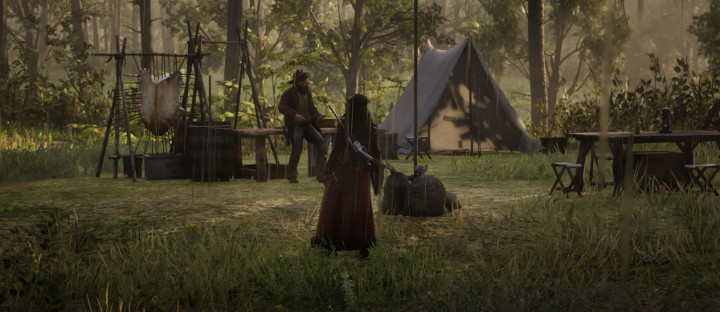
Pitching your camp works the same as it did before you bought into the Trader role, only now you’ll be using it a whole lot more. You choose a location, then pay a small fee to set up your camp. There will be an additional daily fee for keeping it up. Don’t be too alarmed; the fees aren’t bad at all.
You won’t get to choose your exact location. If you pick Gaptooth Ridge, for example, there are several possible locations within that area that you might end up at. You don’t have control over the exact spot, only a general location.
Also, you can move your camp at any time, and it’s really cheap to do so. It costs $2 of in-game cash (not gold) to move a small camp, and $5 to move a large camp. You really don’t need a large camp unless you’re rolling with a posse with more than four members, so the small camp should work out most of the time.
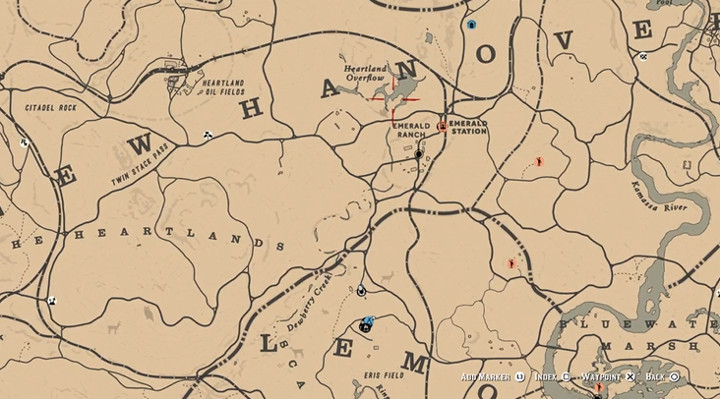
You have several options for a camp location, so which one should you choose? Well, the answer is subjective, but I can explain my personal opinion. I almost always pitch my camp at one of two locations: Scarlett Meadows or the Heartlands. Both of these are reasonably close to large animal populations, and they’re also pretty close to Rhodes.
Scarlett Meadows features a lot of wooded areas, and you can usually find lots of whitetail deer, which fill your Materials bar quite a bit. You’ll also find rabbits, foxes, badgers, racoons, and a number of other small animals. The hunting is good here. The downside, however, is that sometimes you get put way at the southern portion of the state or, even worse, in the swamp. If you find yourself in one of the nicer locations, though, Scarlett Meadows is great.
The Heartlands will also put you close to whitetail deer, and the view over Flat Iron Lake is quite often spectacular. You’ll also occasionally run into bison, whose pelts are worth a decent amount of Materials progress (though they’re not worth as much cash as you might expect). The downside to the Heartlands is that you’re usually pretty far away from a town, and you’ll end up using Emerald Ranch as a swift travel point far more often that you might like. You also sometimes get placed out on the cliffs southwest of Valentine, which is a horrible spot due to how precarious the trails can be. Many a supply wagon was lost on those hills.
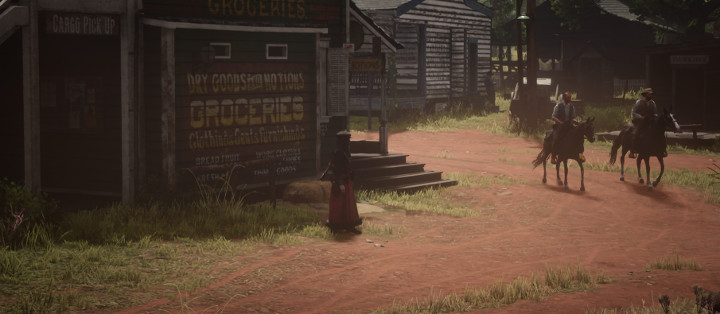
Rhodes is my preferred town to be near in this game because it has a butcher’s shop (so you can sell the parts that Cripps won’t take), a gunsmith, a general store, and a post office. It’s also usually not as crowded, and it’s less likely to be filled with griefers than Blackwater, Saint Denis, or Valentine.
When you’re ready to sell a batch of goods, I do recommend moving your camp, but I’ll explain that later.
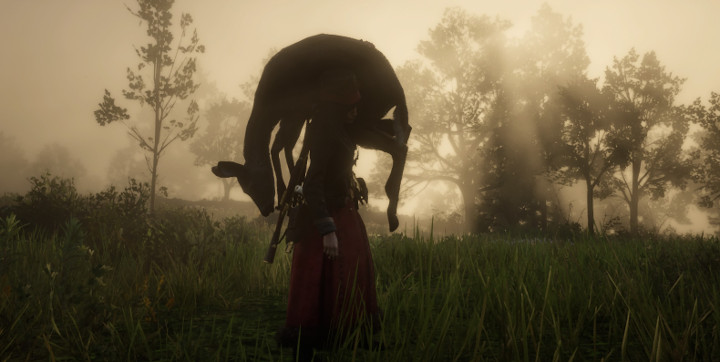
Hunt for materials
I’m not going to explain the basics of RDR hunting in any real depth here. Polygon has put together an excellent guide, so check that out if you need some help. Otherwise, there are really two basic things you should know about hunting in Red Dead Redemption 2: Use the correct weapon, and land a clean blow (aim for the head or the heart).
There are some specifics that relate to the Trader role, however, and I do want to get into the nitty gritty of those.
Cripps is using animal parts to craft items like blankets, clothing, and various knicknacks; he’s not using the meat (you’ll notice he won’t accept meat donations). While it’s tempting to think of animals in terms of size (as in, bigger is better), the Trader role should make you shift priorities to quality (the higher the quality, the better). A three-star animal will count for far more than a one-star animal of the same species. In fact, a three-star turkey will count for more than a one-star deer.
Always turn in full carcasses when you can. Your Materials meter will fill much more for a carcass than for a pelt of the same species and quality.
Additionally, there are certain types of animals that Cripps prefers over others. The best animals you can donate (that I know of) are cougars and deer. Remember, they should be three stars, and you should turn in the full carcass rather than just the pelt if you can.
Your horse’s capacity for carrying game is excruciatingly limited, so keeping your Materials meter full can be a daunting task. However, it’s made much easier if you purchase the Hunting Wagon, which is unlocked by leveling up your Trader role. (You can learn more about the Hunting Wagon by checking out my guide to camp upgrades.)
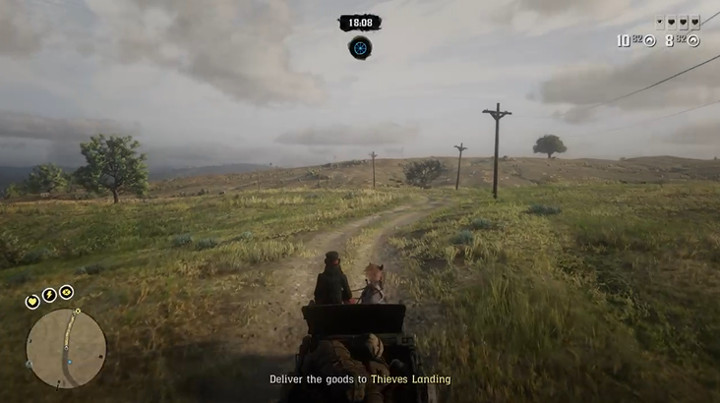
Do resupply missions
After every 25 goods produced, the entire operation will come to a halt and you’ll see a notification that your camp is out of supplies. (Remember, supplies are different than materials.) If you want to get Cripps working again, you have two options: pay for a batch of supplies, or accept a resupply mission to fetch them yourself. I always take the mission, because they’re usually easy, they cost nothing, and they add materials on top of the supplies you earn.
You’ll usually earn one of two types of supply payouts: sacks of supplies or carts of supplies. A sack will add 5 points to your material meter, while a wagon will add 20 points to your material meter. If you run a sack resupply mission with a posse, there will be a sack for each member of the posse (for example, a three-member posse will get three sacks of goods). Every sack adds 5 points to your materials meter, meaning a four-person posse will earn as much materials with sacks as a solo player will with a cart.
Cripps seems to produce 1 unit of goods every two minutes (though I haven’t been able to verify this 100%). If this figure is correct, it means you’ll need to run a new resupply mission after every 50 minutes of production. That’s on top of the materials you’re supplying.
There is a frequent bug in Red Dead Online where successfully completing a resupply mission will fill your Supplies meter to the maximum amount, but production will still be halted. Since you earn materials on these missions, doing back-to-back supply runs is a really fast way to fill your Materials meter. So you can take advantage of this bug. However, if you don’t want to keep running supply missions, you’ll want to exit your game, then log back in. This usually fixes any issues, though sometimes it will require multiple restarts. (You can read more about Trader role bugs in the final section of this article.)
Throw together a posse
Red Dead Online is simply more fun with a group of friends than it is solo. If that’s not reason enough to posse up, keep in mind that the Trader role seems to be designed for groups rather than for solo players. While you absolutely can solo the entire operation (I do still run this role when I’m playing solo), everything is easier with a group.
The main reason for this is that Cripps demands large quantities of animal parts, and keeping him stocked up is a full-time job for a solo player. With a group of even two people, you can stock up your animal supply, then go off and do other things while you wait for Cripps to produce your goods. The latter is a much better experience.
On top of that, if you choose the long-distance delivery route (more on that later), you’ll need some protection. Who’s better equipped for that job than your Red Dead-playing friends?
It’s also important to note that you won’t lose XP or cash by letting your friends help out. In fact, when it comes to resupply missions, you might actually end up earning more XP than you would solo. If your resupply mission requires you to pick up sacks of supplies, there will be enough sacks for everyone in your posse. Not only will you get rewarded XP for delivering your sack of supplies, but you’ll be rewarded for everyone else’s as well. On these particular supply runs, you’ll be earning up to four times the XP you would if you did them alone (and more than that if you run a large posse).
And you don’t have to share your money either. If you make a delivery that’s worth $150, you will keep all $150 for yourself as the leader of the posse. Everyone who helps will get half the payout, or $75 per person. When you’re making the $625 deliveries (and you will be if you see this profession through to the end), everyone who helps you will earn $312.50. So you should let your friends help you out, and you should help them out as well. You’ll be surprised at how fast your money will accumulate.
Upgrade your camp
There are several upgrades you can make to your camp, though not all of them will be useful. A couple in particular, however, are essential, and you should buy them as fast as you possibly can to maximize your earning potential.
I’ve created a full guide to camp upgrades, so read that if you want all the juicy details. For the TL;DR version:, buy the Large Delivery Wagon and the Fast Travel Post. If you play solo a lot, you’ll also probably find the Hunting Wagon to be useful. Some of the other upgrades might also be useful, but you can read more about those in the full upgrade guide.
Sell your goods and make tons of that Red Dead money
When that Goods bar reaches 100, you’re ready for a serious payday — if you own the Large Delivery Wagon, that is.
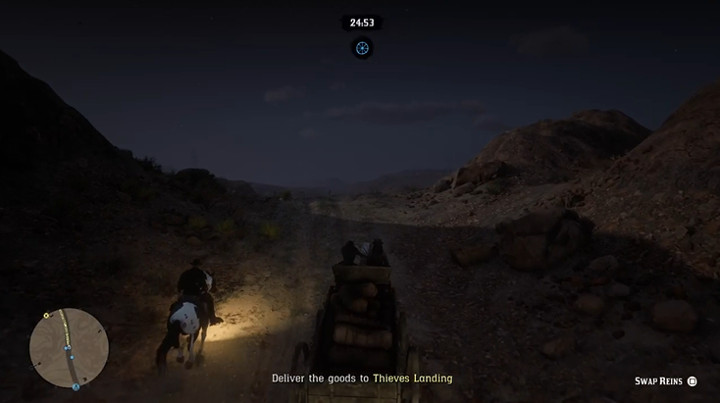
If you can’t afford to upgrade your wagon and you are running small or medium deliveries (25 and 50 units, respectively), you should always pick local delivery. The route will be shorter and safer, and the additional payout for doing a long-distance run is usually not worth the hassle. However, if you have upgraded to the Large Delivery Wagon, you should do the long-distance deliveries.
The base price for 100 units of goods is $500. If you sell to a distant buyer, however, that becomes $625. If you have your posse around for protection, the additional $125 is really hard to turn down. Just be prepared to be griefed by other posses.
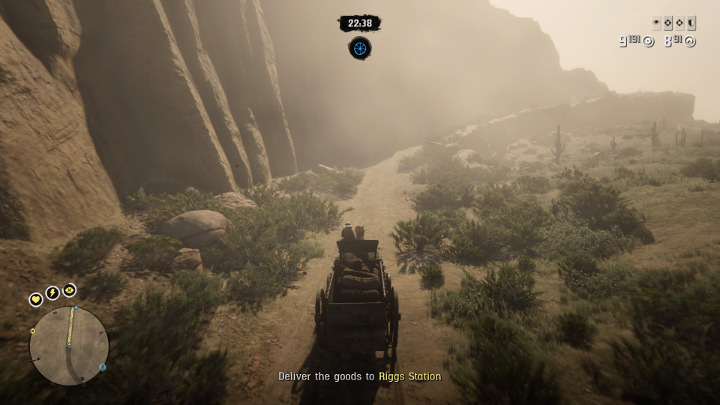
One trick, however, is to move your camp to Gaptooth Ridge before you make a distant sale. This sale route is actually the shortest I’ve found (in the long-distance category), as you only have to cross about 3/4 of New Austin. It’s practically a local delivery. On top of that, there seems to be fewer players in the desert areas of the game in general (in my experience, players congregate around Blackwater, Saint Denis, and Valentine). Keep in mind that this isnt always true, as I’ve seen gangs of griefers hiding out near Tumbleweed. However, as a basic rule, I tend to see fewer players out in the desert than in other areas in the game (aside from the mountains, but who wants to move a cart full of goods across miles of precarious clifftop paths?)
(Thanks to Classy Kawalaa for the Gaptooth Ridge idea!)
Cheese the system for even more money
There are a few ways you can exploit the system to earn even more on deliveries, and I’m going to explain the two most common methods. One is simply tactical, while the other is a cheat.
First, if you’re running with a posse, you can disband the posse so that all of your camps are producing goods at the same time. If you have four players, for example, and all four of you can keep your production moving along, you could potentially have four back-to-back deliveries. Simply posse up, make the leader’s delivery run, disband the posse, and form a new posse with a new leader and repeat. If you can pull this off, you’re in for a payday of $1,562.50 ($625 for your own delivery, plus $312.50 for each of your friends’ deliveries).
The second method is to run a delivery with a posse, then have the posse leader quit out of the game right before you complete the delivery. Instead of earning the $312.50 payout, every remaining member of the posse will receive the full $625. The posse leader (who quits out of the server) will receive nothing, but the goods won’t count as delivered once that person logs back in. You could virtually keep repeating this process all day long.
I recommend the first method if you can keep four trading operations in sync, but I don’t recommend the latter method because it’s straight-up cheating. Some players have suggested that exploiting the game’s bugs merely makes up for all the money they lose on game crashes, and I see some validity in that argument. However, you never know when Rockstar will decide to unleash the banhammer, and I find it best to stay on their good side in cases like this.
A note about robberies
Rival players can steal your deliveries, and you can steal deliveries from other players. If you do a distant delivery, your wagon will show up as a red circle on opponents’ maps (if they are close enough to you), which sometimes causes opponents to chase you down.
If a rival steals your goods, you have two options: You can try to get it back before they turn it in, or you can quit out of your game. Quitting out before the rivals have completed the delivery will reset the mission, which means you can try it again with a full wagon of goods and without any real penalty.
If you want to rob another player’s delivery wagon, you can do so, but you won’t get a money payout. If you manage to bring the wagon to the drop-off point, you’ll be rewarded with materials. Yes, those are the things you hunt. It’s probably not worth the effort, and you’ll make enemies in the game. I prefer to play peacefully when possible, so I leave rival wagons alone.
Also, if a rival is delivering a wagon, it’s best to avoid the area so the wagon driver doesn’t try to shoot you to protect their wagon. If I get close to another player who is making a delivery, I try to signal my peaceful intent by moving off the road and putting some distance between us.
And one more thing to make note of: When a player aims, their icon on the map turns into an eye instead of the usual dot. If I’m making a delivery and a nearby player’s icon turns into an eye, I will go into full-on offensive mode and try to wipe them out. Don’t aim your weapon when you are close to a delivery wagon if you don’t want to be gunned down.
A note about glitches and bugs
There is one major downside to the Trader role: it is the role that is most impacted by bugs and glitches. Here’s a list of issues I’ve encountered:
- Your camp won’t load in.
- You use the menu to set up a camp, but nothing happens.
- You load into a server where there are no animals to hunt.
- The game will freeze when you attempt to pick up a resupply mission.
- On accepting a resupply mission, the game won’t freeze, but the mission won’t start and you can’t accept any other missions (or use fast travel, etc).
- Your camp disappears while you’re out hunting.
- A successful resupply mission won’t cause production to begin.
There are probably more, but these are the issues I can think of off the top of my head. I’ve also encountered some of these issues back to back, which is especially frustrating.
In almost every case, the solution is to log out and then log back in. Sometimes, you’ll have to do this several times in a row, but it almost always fixes any of the issues I’ve listed above. Of course, if you don’t have the patience to endure multiple restarts, you might want to ignore the Trader role for a while and simply hope the servers are better the next time you play Red Dead Online.
Only thing I have to comment on is that your goods will still produce If you’re in another posse but I think the speed of production is reduced.
So I’m a Trader noob. I literally bought the butcher table tonight and then stopped playing to make dinner. Now I’m back and reading your article before popping back in to try this role out. I’m in a lot of RDO FB groups and I’ve read many times of anger and frustration with griefers blowing up their wagons. I know that’s to be expected but I’m now wondering about what you said above where you can simply “quit out”. Do you mean quit out of the mission, or do you mean quit out out of Free Roam and then come back in?
Thanks for the comment!
If someone destroys your Wagon, you can just exit the game. Since you didn’t complete the mission, it will reset, and when you load the game again, your delivery will ready to do over again.
Also, if you’re struggling with griefers, I’ve also written the ultimate guide to avoiding griefers in RDO. I hope you find it useful!
https://halfglassgaming.com/2020/11/how-to-avoid-griefers-in-red-dead-online-a-ridiculously-exhaustive-guide/
I should also point out that a lot of the items listed in the Glitches and Bugs section of this Trader Guide were fixed in the Naturalist update over the summer.
This is by far the most easy to follow guide and helped me pass the 5 people that started with me. I’m now trader level 16 2 days later and their still struggling at 2-3
Thanks for the comment! I’m glad you found this guide to be useful!
I should point out that I published this in May of 2020, and the game has received several updates. Two major things to be aware of:
I’ll be doing an updated guide to earning gold in 2021 (the most recent update made some big changes to gold payouts), so it might not be a bad idea to do an updated Trader guide as well.
Also, welcome to RDO!
Verified 120 seconds/unit of goods. Ran five tests, all came back on the dot.